Project Settings
What this covers
Every project in Tessallite carries its own configuration drawer — a right-hand pane with nine focused tabs covering connections, LLM provider configurations, and the seven groups that drive the conversational agent. This page explains how to open the drawer, which tab owns what, and the resolver chain that ties project settings to model overrides.
Why the drawer
Connections, LLM configurations, and the agent's brief, safety policy, knowledge map, and judge configuration are all project-scoped — the same connection or LLM bundle is reused across every model in the project, and the agent answers questions across the project's models. Putting these on a single drawer keeps the model toolbox lean and avoids the temptation to redefine the same connection twice.
Opening the drawer
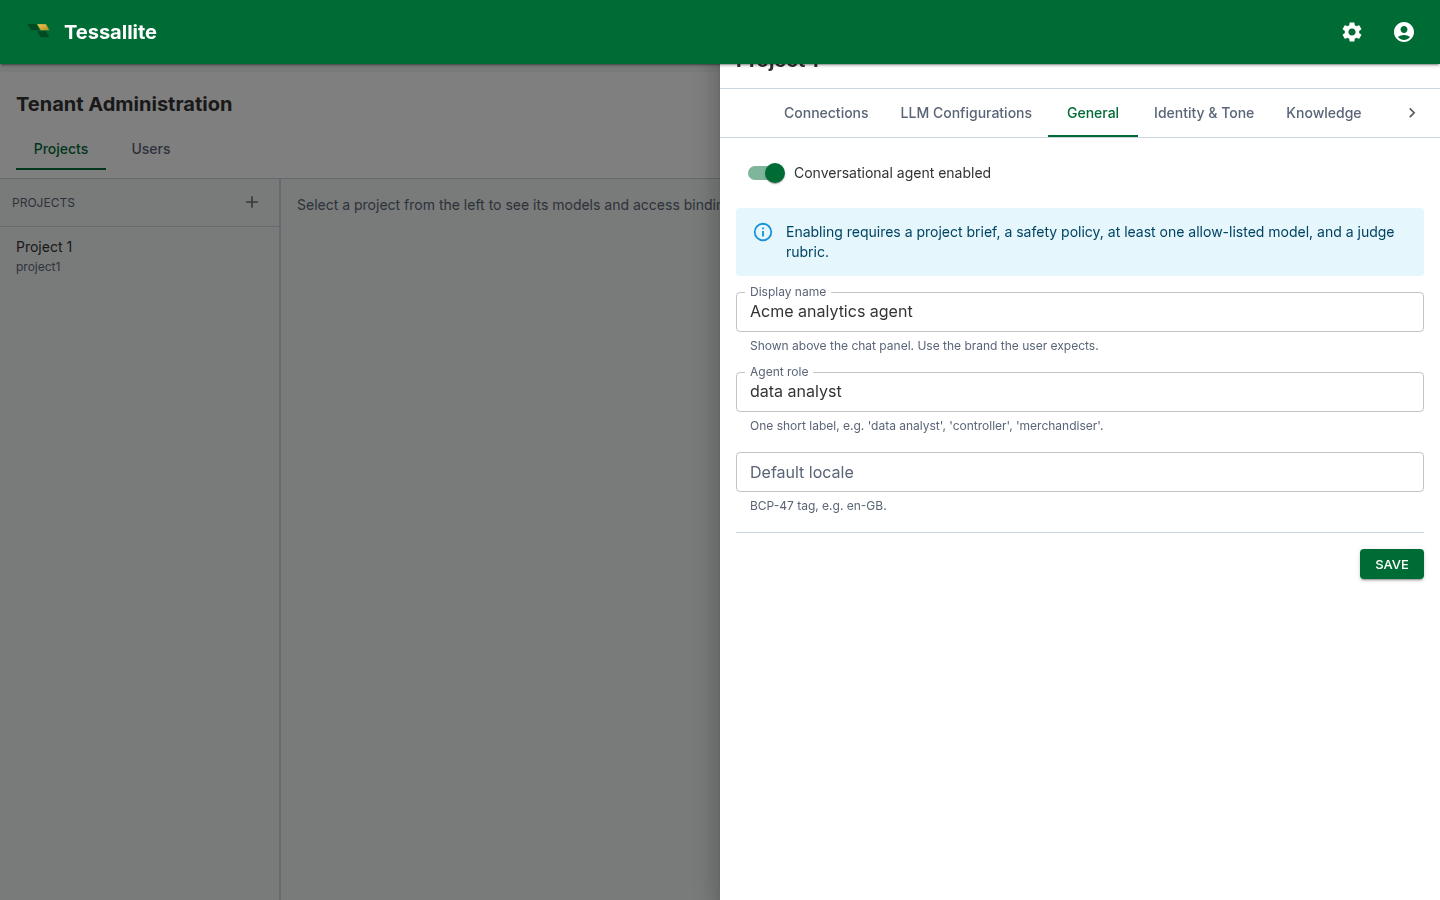
- Open Tenant Administration → Projects.
- On the row of the project you want to configure, click the gear icon. The drawer opens from the right.
- Use the tab strip across the top of the drawer to switch sections. The tab strip scrolls horizontally on narrow screens.
The nine tabs
| Tab | What it owns | Typical edits |
|---|---|---|
| Connections | The project's pool of source / target connections (PostgreSQL, BigQuery, Hadoop / Spark Hive Thrift). Models and aggregates pick from this pool. | Add, edit, test, retire connections. |
| LLM Configurations | Named LLM provider bundles — OpenAI, Anthropic, Gemini, DeepSeek, GLM, Ollama. Each row carries the provider, model, API key, max tokens, temperature, and timeout. | Create one bundle per LLM you want available to the project's agent and judge. |
| General | The agent master switch and a few global agent toggles. | Turn the agent on or off. |
| Identity & Tone | Display name, project brief, agent role, tone preset, tone overrides, brand guidelines, disclosure text. | Set the brand-facing voice and the one-paragraph project context the LLM sees on every turn. |
| Knowledge | The glossary alias map and any project-level knowledge that grounds the agent. | Tune which terms map to which measures or dimensions. |
| Safety | Safety policy and content rules. | Add forbidden topics, content directives. |
| LLM & Judge | Pickers for the answer LLM and the judge LLM (bound to the LLM Configurations tab), plus judge mode (sync / async), judge rubric, judge block visibility. | Pick which configured LLMs power the agent and the judge. |
| Webhook | Outbound webhook URL and signing secret for agent events. | Wire turn metadata into a downstream system. |
| Retention | How long agent conversations and traces are kept. | Tighten retention to meet compliance windows. |
All nine tabs are direct CRUD — each tab edits its own dedicated table on the agent service or model service, not the registry. Connections write to project_connections, LLM Configurations write to llm_provider_configs, and the seven agent tabs all read and write a single project_agent_configs row through /agent/config.
How saves work
Each agent tab carries one Save button at the bottom; it persists the entire ProjectAgentConfig record in one PUT. Switching between agent tabs preserves the in-progress draft until you save or close the drawer. There is no per-row override or reset — the row either holds the value you saved, or the column default that ships with the schema.
Project settings apply to every model in the project. The allow-list and per-model context are also managed from this drawer (LLM & Judge tab and Knowledge tab respectively).
Editing a setting
- Open the drawer (see above) and switch to the relevant tab.
- Adjust the fields you need to change. The Save button at the bottom of the tab persists every field on the agent record in one call.
- Click Save. A success toast confirms the write; the form re-loads with the saved values so you can verify.
- To revert a field, change it back to the desired value and click Save again. There is no separate undo path.
Best practices
- Define connections and LLM configs once. A common mistake is adding a second OpenAI bundle "for the judge" with the same key. Reuse a single bundle and pick it twice — once on the answer LLM picker, once on the judge LLM picker.
- Keep the project brief short. It is read on every agent turn; long briefs crowd out the per-model context.
- Test connections before turning on the agent. A failing connection in the agent's allow-list returns errors at chat time. Open the connection's row and run Test before flipping the General → Enable switch.
Common pitfalls
- Editing a connection while a refresh runs. Saving a connection mid-refresh leaves the in-flight job on the old credentials. Pause aggregate refreshes, edit, then resume.
- Picking an LLM bundle the project does not have. The picker dropdown is bound to this project's LLM Configurations. If a bundle is missing, add it on the LLM Configurations tab first.
- Treating the seven agent tabs as a wizard. They are not ordered — you can save Identity, Safety, and Judge in any order. The agent reads the current state of all seven on every turn.