Manage Aggregate Schedules
What this covers
Aggregate schedules control when the Scheduler service refreshes each aggregate. This article explains the two places where schedules are managed, how to write and use cron expressions, how to pause a schedule, and what the Stale status means.
Two places to manage schedules
Option 1: Canvas → Drawer
- In Model Builder, locate the aggregate in the Canvas.
- Click the aggregate to select it.
- In the Drawer, find the Refresh Schedule field.
- Enter a cron expression or select a preset.
- Click Save. The new schedule takes effect at the next scheduled run time.
Option 2: Scheduler panel
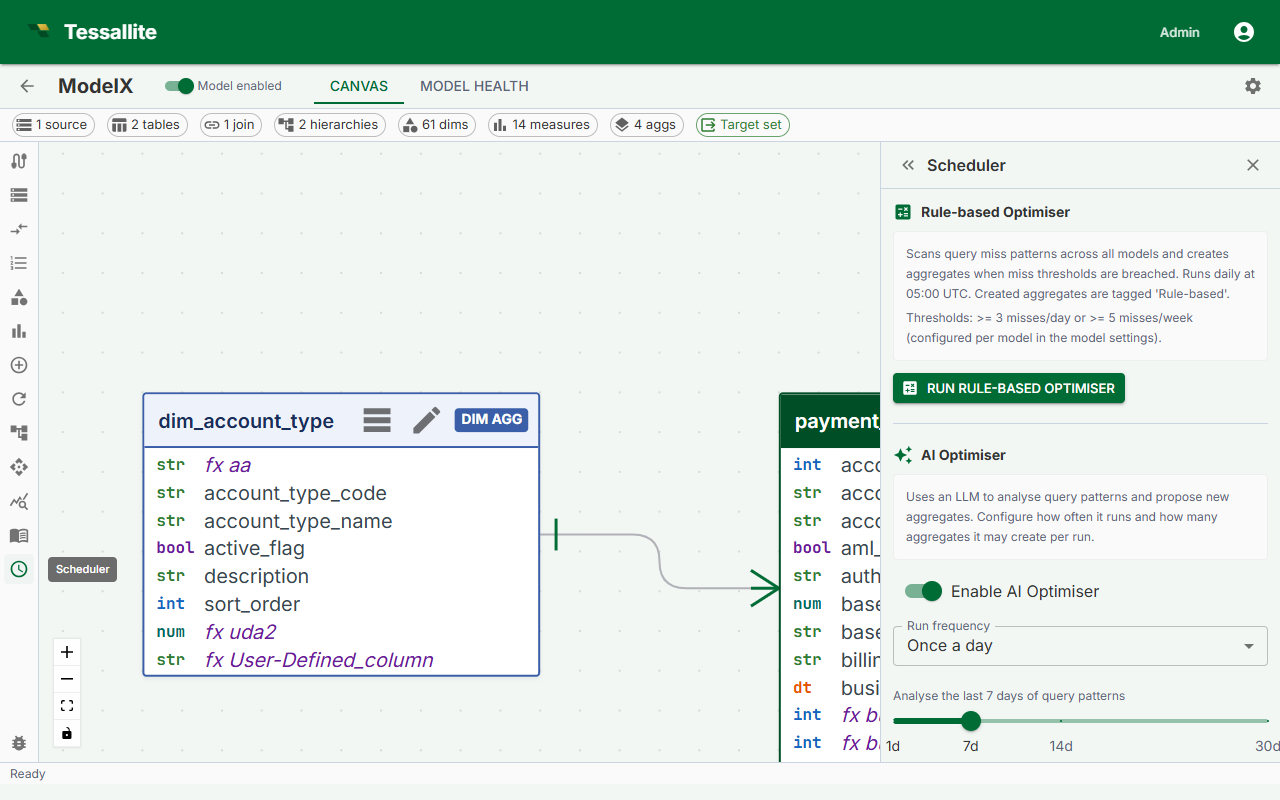
- From the workspace sidebar, click Scheduler.
- The Scheduler panel opens, showing all aggregates across all models in the workspace.
- Locate the aggregate by model or aggregate name, then click its schedule field to edit it inline.
- Click Save.
Scheduler panel columns
| Column | Description |
|---|---|
| Model | The model this aggregate belongs to. |
| Aggregate name | The name assigned to the aggregate in Model Builder. |
| Last refreshed | Timestamp of the most recent completed refresh run. |
| Next scheduled | When the Scheduler will next attempt a refresh. |
| Status | Ready, Building, Stale, or Paused. |
| Actions | Run now, Pause / Resume, Edit schedule. |
Cron expression reference
Tessallite uses standard five-field cron syntax: minute hour day-of-month month day-of-week.
| Preset | Cron expression | Meaning |
|---|---|---|
| Hourly | 0 * * * * | Runs at the top of every hour. |
| Daily at 02:00 | 0 2 * * * | Runs once per day at 2:00 AM. |
| Weekly on Sunday 03:00 | 0 3 * * 0 | Runs once per week, Sunday at 3:00 AM. |
| Every 15 minutes | */15 * * * * | Runs at :00, :15, :30, and :45 past every hour. |
All times are evaluated in UTC unless the server's SCHEDULER_TZ environment variable is set to an IANA timezone identifier.
Rebuild method: full rebuild, or only new rows
Next to the schedule you can pick how a scheduled run rebuilds the summary table.
- Full rebuild — the whole summary is recalculated from the source. Always correct.
- Only new rows — for append-only data — you name a date column and a number of days to re-check. The Scheduler then refreshes only the recent window and leaves older totals in place. This is faster, but it is only safe when the data behind the summary is append-only.
What "append-only" has to cover
A summary is often built from more than one table: a main fact table, plus the dimensions, lookups, and upstream models it joins to. Only new rows leaves an old total untouched on the assumption that nothing that fed it has changed. So the append-only promise has to cover the whole joined result, not just the fact table:
Every record used by this summary — the fact rows and every joined dimension, lookup, and upstream record — is only ever added, never changed and never deleted, and any late-arriving record always has a recent date that falls inside the lookback window.
If any part of that breaks, an old total silently goes wrong. A few ways it happens:
- A row's date is corrected — an order dated 5 January is re-dated to 15 February. The old day's total still counts it and the new day's total counts it again, so the summary reports more than the source holds.
- A measure is restated in place — an amount is changed from 100 to 300 without moving its date. The old total keeps the 100.
- A joined dimension changes — a customer is re-pointed from one region to another, or a product's category is corrected. The fact row never moved, but the total it rolls up into is now wrong.
- A row is deleted or back-dated below the window.
The source keeps no record of where a changed row used to be, and a summary row is a total, not a copy of the underlying rows — so the Scheduler cannot detect these one by one at refresh time. That is why the contract is a promise you make, not something the system can verify on every run.
Periodic full rebuild — the safety net
Configure Full rebuild every N days to periodically replace the whole materialisation from a fresh read of the source. Each of these runs also reconciles: it compares the older totals it had been carrying against the freshly rebuilt ones. If it finds a difference in the sealed (older-than-the-window) totals — the fingerprint of a broken append-only promise — it does three things:
- Replaces the summary with the correct, freshly rebuilt numbers.
- Raises an alert on the model's Health tab so you know the source stopped behaving as append-only.
- Suspends "Only new rows" for that summary. Every refresh then runs a full rebuild until you investigate, fix the source, and re-enable Only new rows from the refresh policy.
The interval is measured from the last successful full rebuild, so a failed run never resets the clock and never discards the previous good summary.
Event logs, sensor readings, and audit trails often qualify as append-only. An orders table that people correct after the fact usually does not. Existing policies and imported older policies remain fail-closed: without an explicit append-only declaration, the Scheduler performs a full rebuild. Importing or cloning a model into a new place resets the declaration too — the summary's data source may behave differently there — so re-confirm and re-enable Only new rows after an import.
Tip — fixed an old record? Run a full rebuild. Sometimes a change happens to data that's already "in the past" — someone corrects the amount on an old invoice, voids a transaction from last month, or enters a record late with an old date on it. If that record falls outside the summary's usual refresh window, the summary won't know it changed, and the numbers it shows will be a little off until something re-reads the whole table. The fix is simple: run a full rebuild once. Open the Aggregates page, Refresh tab, find the aggregate, and click Run now. A full rebuild always reads every row from scratch, so it doesn't matter how old the change was or which day it belongs to — the numbers come back correct. It takes a bit longer than a quick refresh, but it's the one action that's always safe. As a rule of thumb: any time you fix, delete, or backdate something in your source data, run a full rebuild afterwards on any aggregate built from that data — just to be sure.
Pausing a schedule
In the Scheduler panel, click the Active toggle to switch it off. The aggregate retains its data and continues to serve queries, but the Scheduler will not attempt any further refreshes until the toggle is switched back on. A paused aggregate displays status Paused in the panel.
Running a refresh immediately
In the Scheduler panel, click Run now in the Actions column. The aggregate's status changes to Building for the duration of the run. This does not affect the regular schedule.
Viewing refresh history
- In the Scheduler panel, click the aggregate name.
- A history drawer opens showing the last 10 refresh runs.
- Each entry shows start time, duration, and outcome (Success or Failed).
- For failed runs, click View log to see the full Scheduler log for that run.
Viewing scheduler job history
Open the Scheduler panel in Model Builder and scroll to Scheduler Job History. This read-only table lists every registered scheduler job with its durable last status, completion time, last error, next run, and whether the last run was scheduled or manual. It refreshes every 30 seconds. Not run yet means that job has no execution-ledger record yet; it does not mean the job failed.
Stale status
An aggregate is marked Stale when its last successful refresh completed more than twice the schedule interval ago. Stale aggregates continue to serve queries using their existing data, but the data may be older than expected.