Manage Users
What this covers
This article covers all user management tasks available to a Tenant Admin: viewing the user list, inviting new users, removing users, resetting passwords, and reading user details.
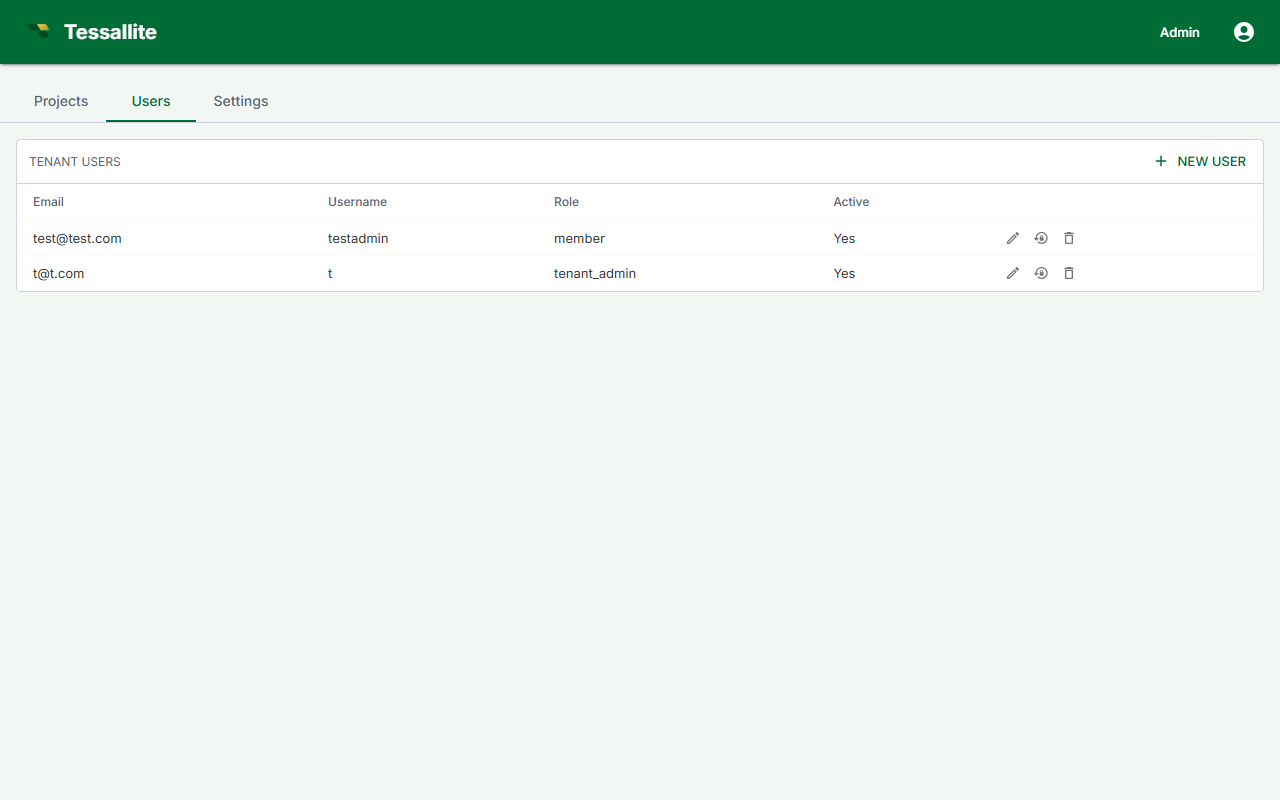
Navigating to the user list
- Sign in to your workspace.
- In the workspace sidebar, click Admin.
- Click the Users tab.
The Users tab displays all users in the workspace with their email address, role, last-active timestamp, and project memberships.
Inviting a user
- On the Users tab, click Invite User.
- Enter the user's email address.
- Select the role to assign: Tenant Admin, Modeller, Analyst, or
model_technical. - Click Send Invitation.
The user receives an email containing a one-time invitation link, valid for 48 hours. On first sign-in, the user sets their own password.
The model_technical choice is a special audience role rather than a permission level: it pins the user to the technical persona for column-level security and data tags, and grants no project access on its own. Pick it only for users who should see technical column detail; they will still need a project-level Viewer or Modeller binding to open a project. See Manage roles and Configure personas.
If the invitation expires
Return to the Users tab. The invited user appears with status Invitation expired. Click Resend next to their row. A new invitation link is generated; the old link is invalidated.
Removing a user
- On the Users tab, find the user you want to remove.
- Click Remove in that user's row.
- Confirm the action in the dialog.
Removal takes effect immediately. All active sessions are invalidated. Historical activity (query logs, model edits) is retained.
A Tenant Admin cannot remove another Tenant Admin. Only the System Admin can remove or demote a Tenant Admin.
Resetting a user's password
- On the Users tab, click the user's name to open their detail view.
- Click Reset Password.
- Confirm in the dialog.
The user receives a password reset link valid for 24 hours. Their current password remains active until they complete the reset.
Viewing user details
Clicking a user's name opens a detail panel showing:
- Last active: timestamp of the user's most recent authenticated request.
- Assigned role: the workspace-level role currently in effect.
- Project memberships: the projects the user can access and their role within each.